Repairs · Brantford
Garage Door Safety Inspection
Your toddler has discovered the wall button.
In plain words
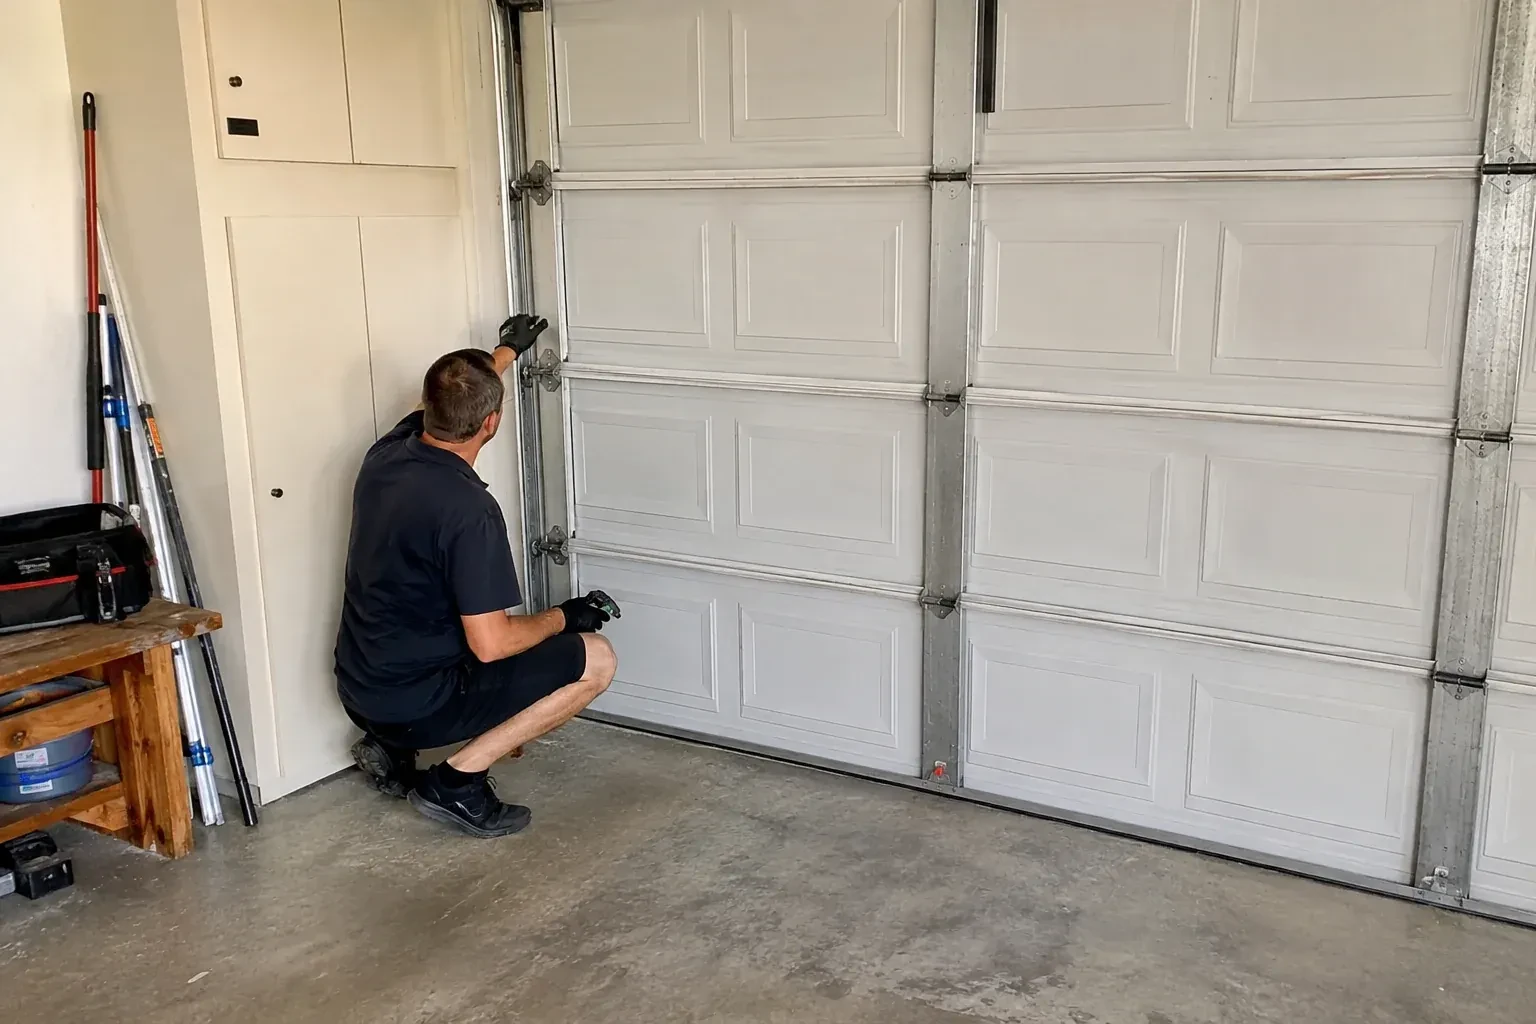
After a vehicle or an object has hit the door, an inspection follows the force rather than the dent. A bump on the bottom section can nudge a track out of plumb, shift a roller, bend a bracket, or leave one cable seated differently on its drum, and each changes how the door hangs and how the springs share its weight. The technician traces the load path from the point of impact through the hinges, rollers, tracks, cables and counterbalance to the opener attachment, and reports whether the mark is cosmetic, whether a section or piece of hardware needs work, or whether the door has moved out of balance.
How the visit goesYou moved in three months ago. The door works, but nobody can say how old the springs are, when anyone last looked at it, or whether the little sensors by the floor have ever been tested.
Garage Door Safety Inspection
How the visit goes
Putting a name to the door and the opener
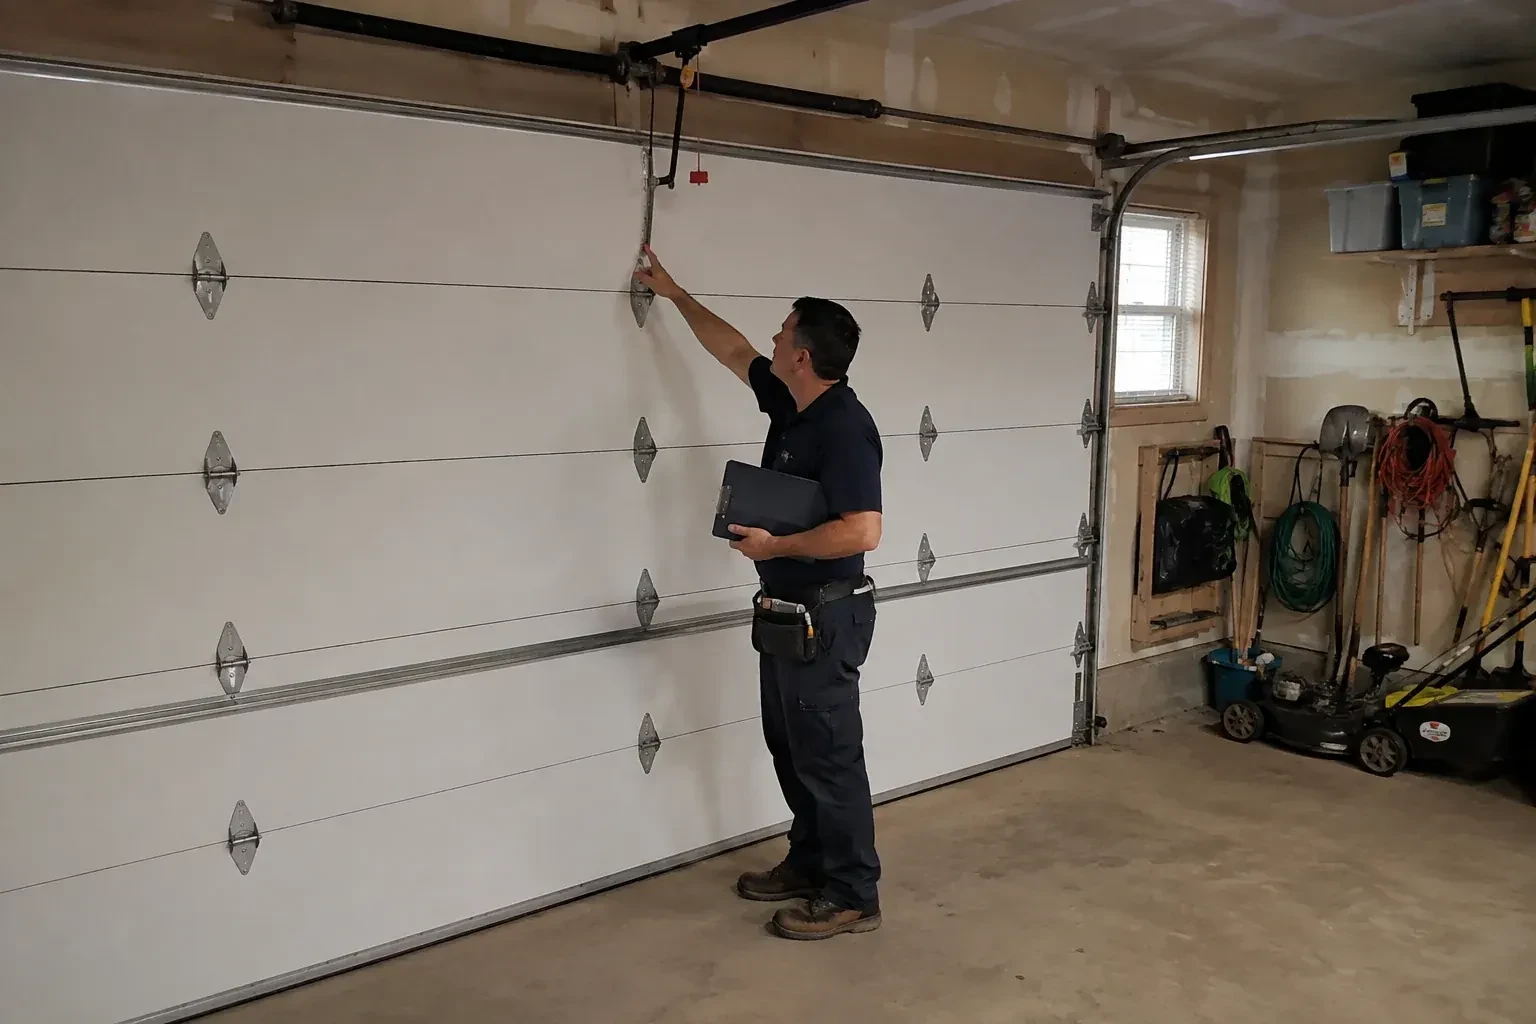
The first thing the technician does is read labels. The door's model tag is usually on the inside of an end stile or the bottom section, and the opener's is on the motor head; between them they tell the technician the door's weight class, the lift hardware it was built with and the exact test procedure the opener maker publishes. That matters because reversal settings, photo-eye mounting heights and force limits differ between models and generations. Writing the model numbers down at the start also means the report is tied to a specific door, so the next person to look at it, years from now, starts from the same page.
Maintenance done on the spot, if you wish
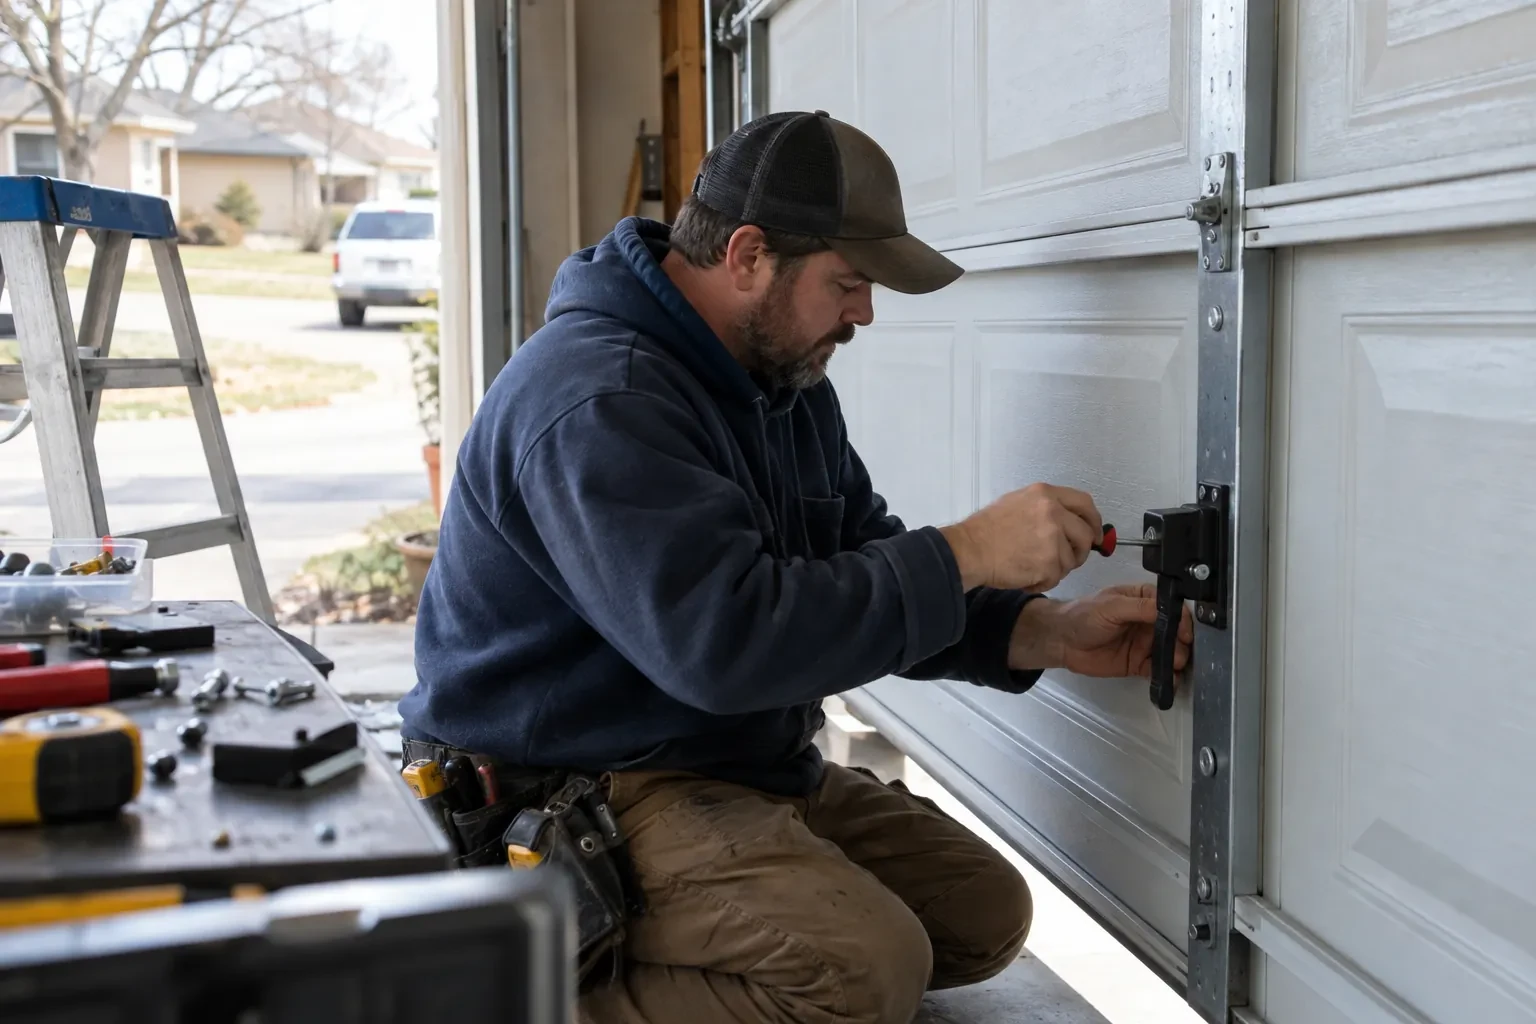
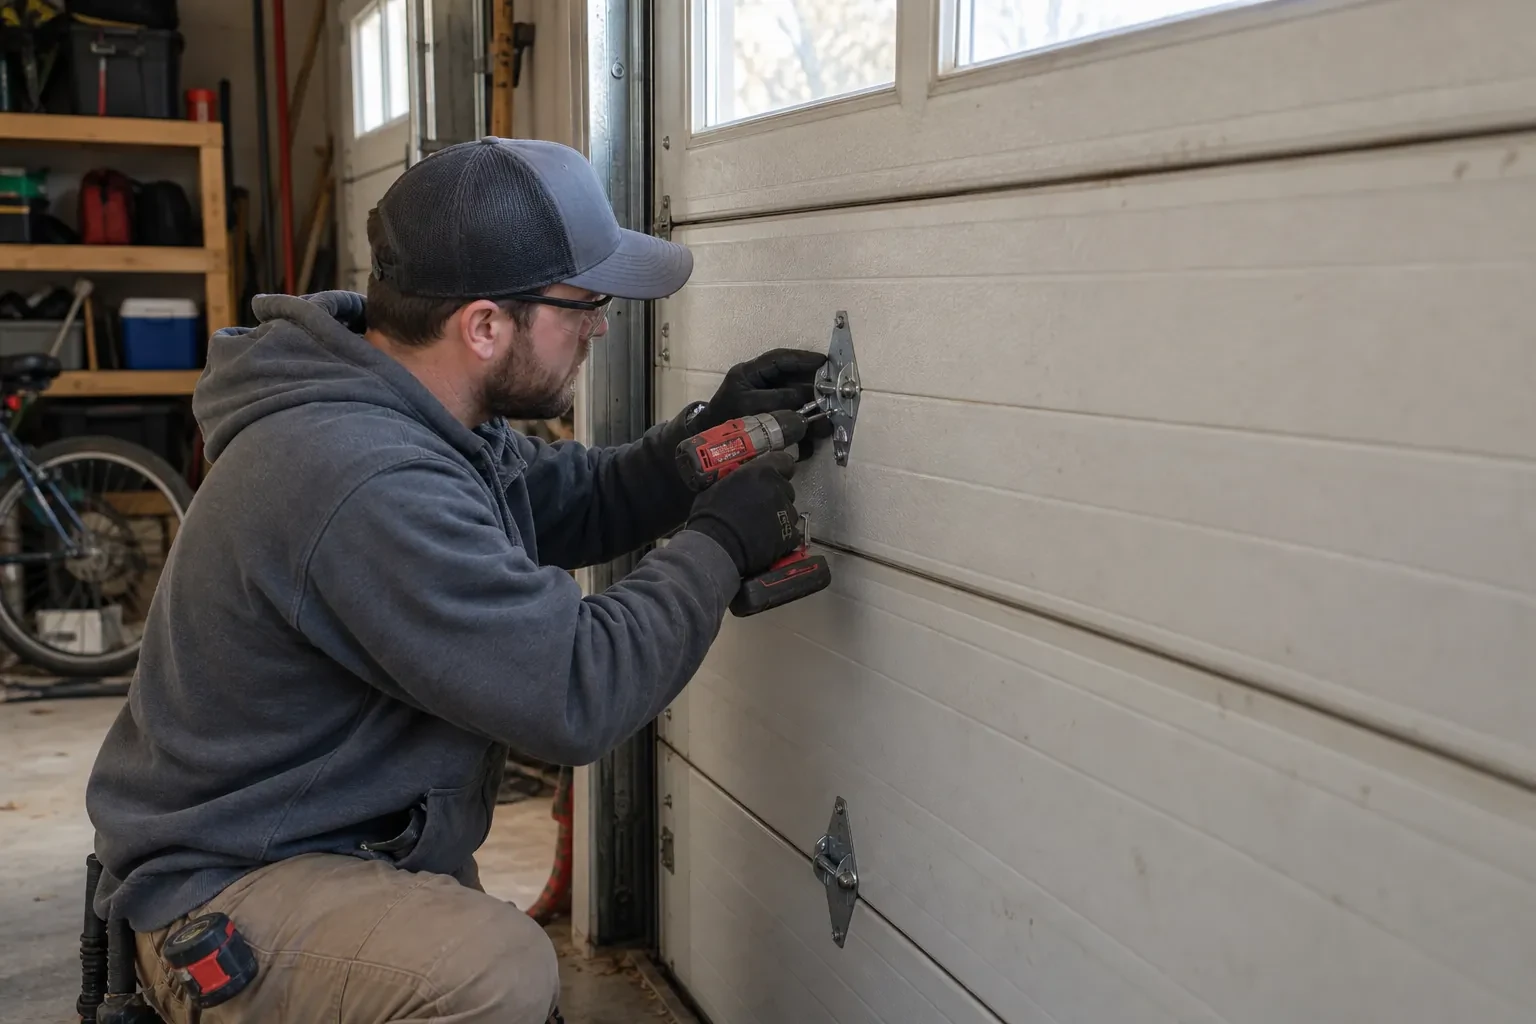
Some findings are simply maintenance, and with your agreement the technician handles them during the same visit. A garage-door lubricant is applied to the springs along their length, to hinge pins, roller bearings and bracket pins, then the door is run to spread it. The tracks are wiped clean and left dry. Photo-eye lenses are cleaned and aligned, loose fasteners tightened, remote and keypad batteries replaced. None of this touches the counterbalance tension or the opener's force settings; those are noted for planned work. It adds a few minutes to the visit and it means the door goes back into service better than it was found.
Knowing what normal sounds like
Once the door has been checked and any maintenance done, take a moment to listen to it run a couple of times. That even, unremarkable sound from the floor to the top of travel is the baseline. From now on a new knock, a squeal at one height, a motor that labours for a second at the start, or a door that lands with a thud instead of settling is a change from that baseline, and a change is easier to describe on the phone than a vague sense that something is off. Many owners find that after one inspection they hear their door differently, and that awareness is worth as much as the report.
Garage Door Safety Inspection
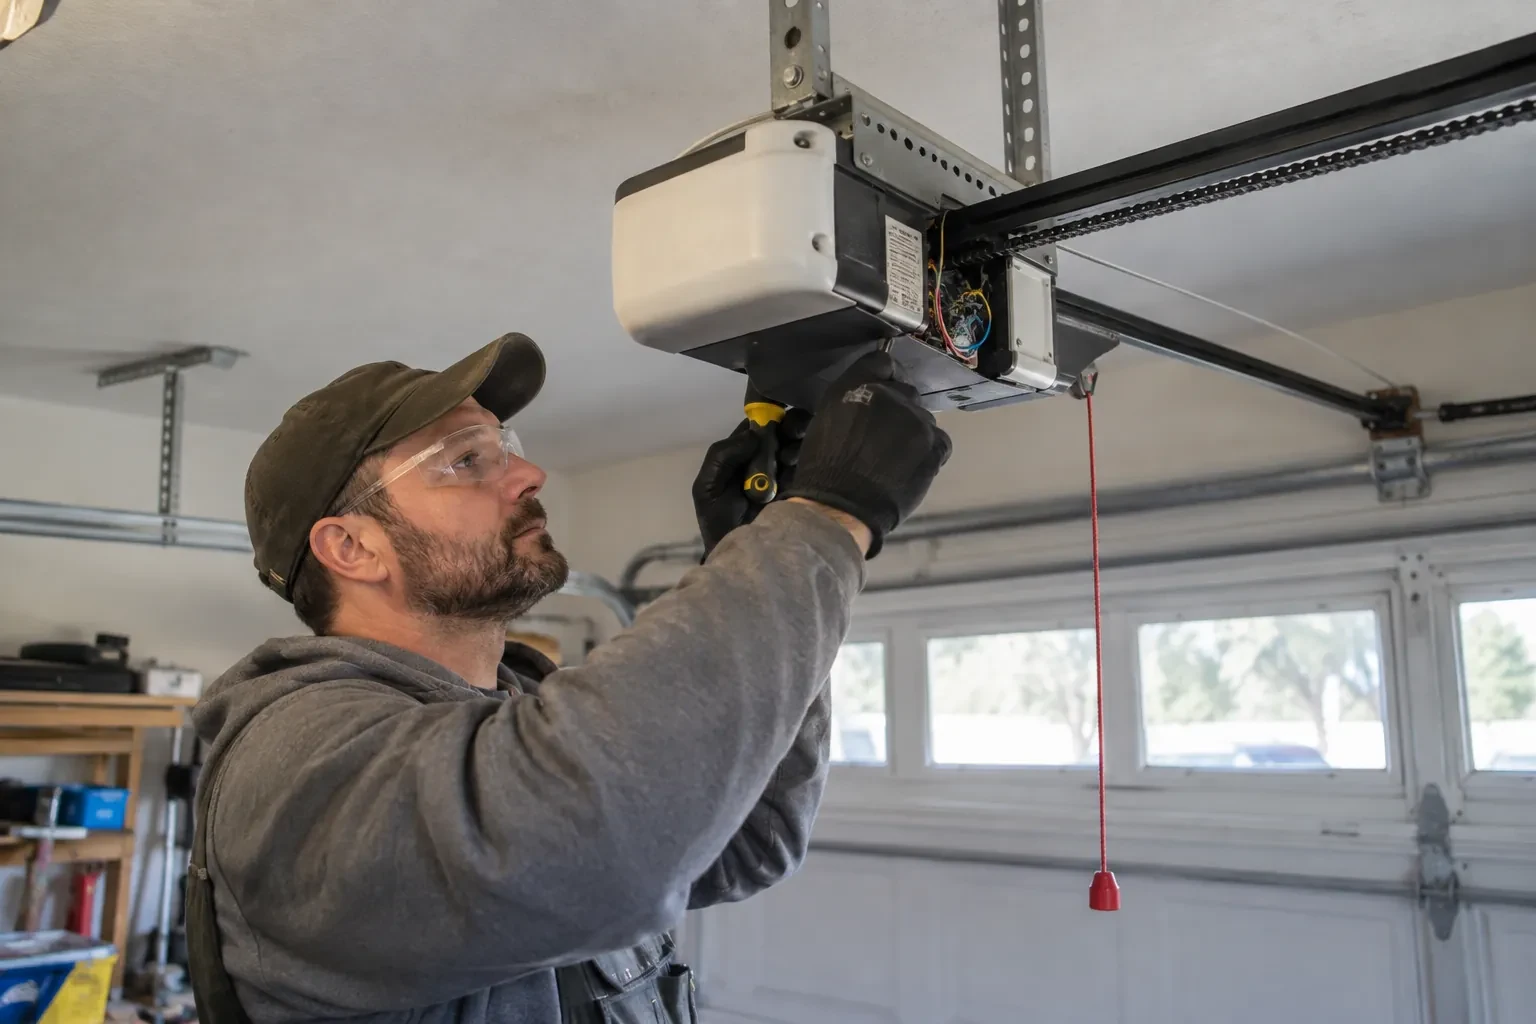
In the van
Remote and keypad batteries
Replacement hinge and track fasteners
Flat 2x4 test board
Work light and inspection mirror
Inspection checklist and report form
Garage Door Safety Inspection
What affects the quote
A retest after repairs
When the report lists repairs, a short return visit to rerun the balance, reversal and photo-eye tests once the work is done is quoted as its own item.
Maintenance done during the visit
Lubrication, photo-eye cleaning and alignment, fastener tightening and fresh batteries can be added on the spot. Each is a small line on the quote, chosen by you at the door.
High-lift, oversized or custom doors
Doors taller or wider than a standard residential opening, or with high-lift tracks and drums, have more to measure and take longer to observe through a cycle.
What to have ready
- What make is the opener, and does it have sensors near the floor on each side?
- Has a vehicle or anything else struck the door or the tracks?
- How many doors need inspecting, and are they all at the same address?
Garage Door Safety Inspection: questions
QuestionsWhat is in the written report?
The date, the door and opener model numbers, the spring type and dimensions, and a line for each component with its condition. Findings are sorted into in good order, maintenance done, planned repair and stop-use. Measurements such as seal gaps, track spacing and photo-eye height are recorded, and photographs of anything worth showing are attached. It is written so a future technician can quote from it and a future inspection can compare against it.
Why does my door reverse on the way down for no reason?
Most often it is the photo eyes. A sensor knocked slightly out of line, a lens with a film of road grime, a loose wire, or low afternoon sun shining straight into one eye will each break the beam as far as the opener is concerned. The next candidates are a down-force setting that has drifted, a binding roller or a door that has gone out of balance. The inspection checks each in turn.
How should I prepare for the appointment?
Move the car out if you can and clear a metre or so in front of the door and along both tracks so the technician can reach the hinges and brackets. Find the door and opener manuals and any earlier repair paperwork. Have every remote and the keypad code to hand. If something has changed lately, be ready to say when and what you noticed first. If the door looks wrong, leave it where it is.
Related services
- Off-Track Garage Door ResetThe rollers on the door have been squealing for months.
- Garage Door Panel ReplacementYears of slap shots have peppered the lower two sections with dents.
- Garage Door Bottom Seal ReplacementOne end of the bottom seal has slipped out of its channel and hangs down like a loose shoelace.